After activating your tracker, follow these instructions for your specific model to ensure it appears on the Hapn map. Most trackers will connect within 5-10 minutes of proper setup and movement.
Choose your Tracker:
- Atlas GPS Tracker (GL300)
- Atlas Mini (GL30)
- Pulse OBD Vehicle Tracker
- Atlas XL (GL501 Asset Tracker)
- Pulse Moto GPS Tracker
- Pulse Wired GPS Tracker
- GV-57 Hardwired Tracker
- Hardwired Tracker
- Troubleshooting Connection Issues
Atlas GPS Tracker
Setup Steps:
-
Charge your tracker fully
- Connect the charging cable to a power source
- Allow 4-6 hours for a complete charge
- The red PWR LED will flash during charging and remain solid when fully charged
- For detailed charging instructions, see our GL300 Charging Guide
-
Power cycle your tracker
- Ensure the tracker is disconnected from the charger
- Hold the power button on top of the unit for 10-15 seconds, then release to power off
- Press the power button again to turn the unit back on
- For more details, view our GL300 Reboot Instructions
-
Take your tracker outside
- Walk or drive around outdoors for 5-10 minutes
- This helps your tracker establish GPS and cellular connections
- The indicator lights will show the connection status:
- Blue GPS light: Blinking = searching, Solid = connected
- Green CELL light: Rapid blinking = searching, Slow blinking = connected
- For more information on indicator lights, see our GL300 Light Guide
-
Check your Hapn map
- Log in to your Hapn account via the mobile app or web browser
- Your tracker should now appear on the map with its current location
- If successful, you'll see the tracker icon with location details
Once you've connected your tracker, click here to continue to Step 4 of the activation process.
Atlas Mini (GL30)
Setup Steps:
-
Charge your tracker fully
- Connect the charging cable to a power source
- Allow 2-3 hours for a complete charge
- The LED will turn green when fully charged
- Disconnect from charger when charging is complete
-
Power on your tracker
- Press and hold the power button for 3 seconds
- The power LED will illuminate to indicate the device is on
- For detailed information about buttons and indicators, see our User Manual - Atlas Mini
-
Take your tracker outside
- Walk or drive around outdoors for 5-10 minutes
- This helps your tracker establish GPS and cellular connections
- The GL30 will automatically connect to available networks
- For optimal signal acquisition, keep the tracker away from metal objects
-
Check your Hapn map
- Log in to your Hapn account via the mobile app or web browser
- Your tracker should now appear on the map with its current location
- If successful, you'll see the tracker icon with its status information
Once you've connected your tracker, click here to continue to Step 4 of the activation process.
Pulse OBD Vehicle Tracker

Setup Steps:
-
Install your tracker
- Locate your vehicle's OBD-II port (typically found under the dashboard near the driver's seat)
- Plug the tracker firmly into the OBD port
- For detailed installation instructions, see our How to Install Your Pulse OBD GPS Tracker
-
Take your vehicle for a drive
- Drive around for 10-15 minutes in an area with good cellular coverage
- The indicator lights will show the connection status:
- Blue GPS light: Blinking = searching, Solid = connected
- Green CELL light: Rapid blinking = searching, Slow blinking = connected
-
Check your Hapn map
- Log in to your Hapn account via the mobile app or web browser
- Your tracker should now appear on the map with its current location
- If successful, you'll see the tracker icon with location details
Once you've connected your tracker, click here to continue to Step 4 of the activation process.
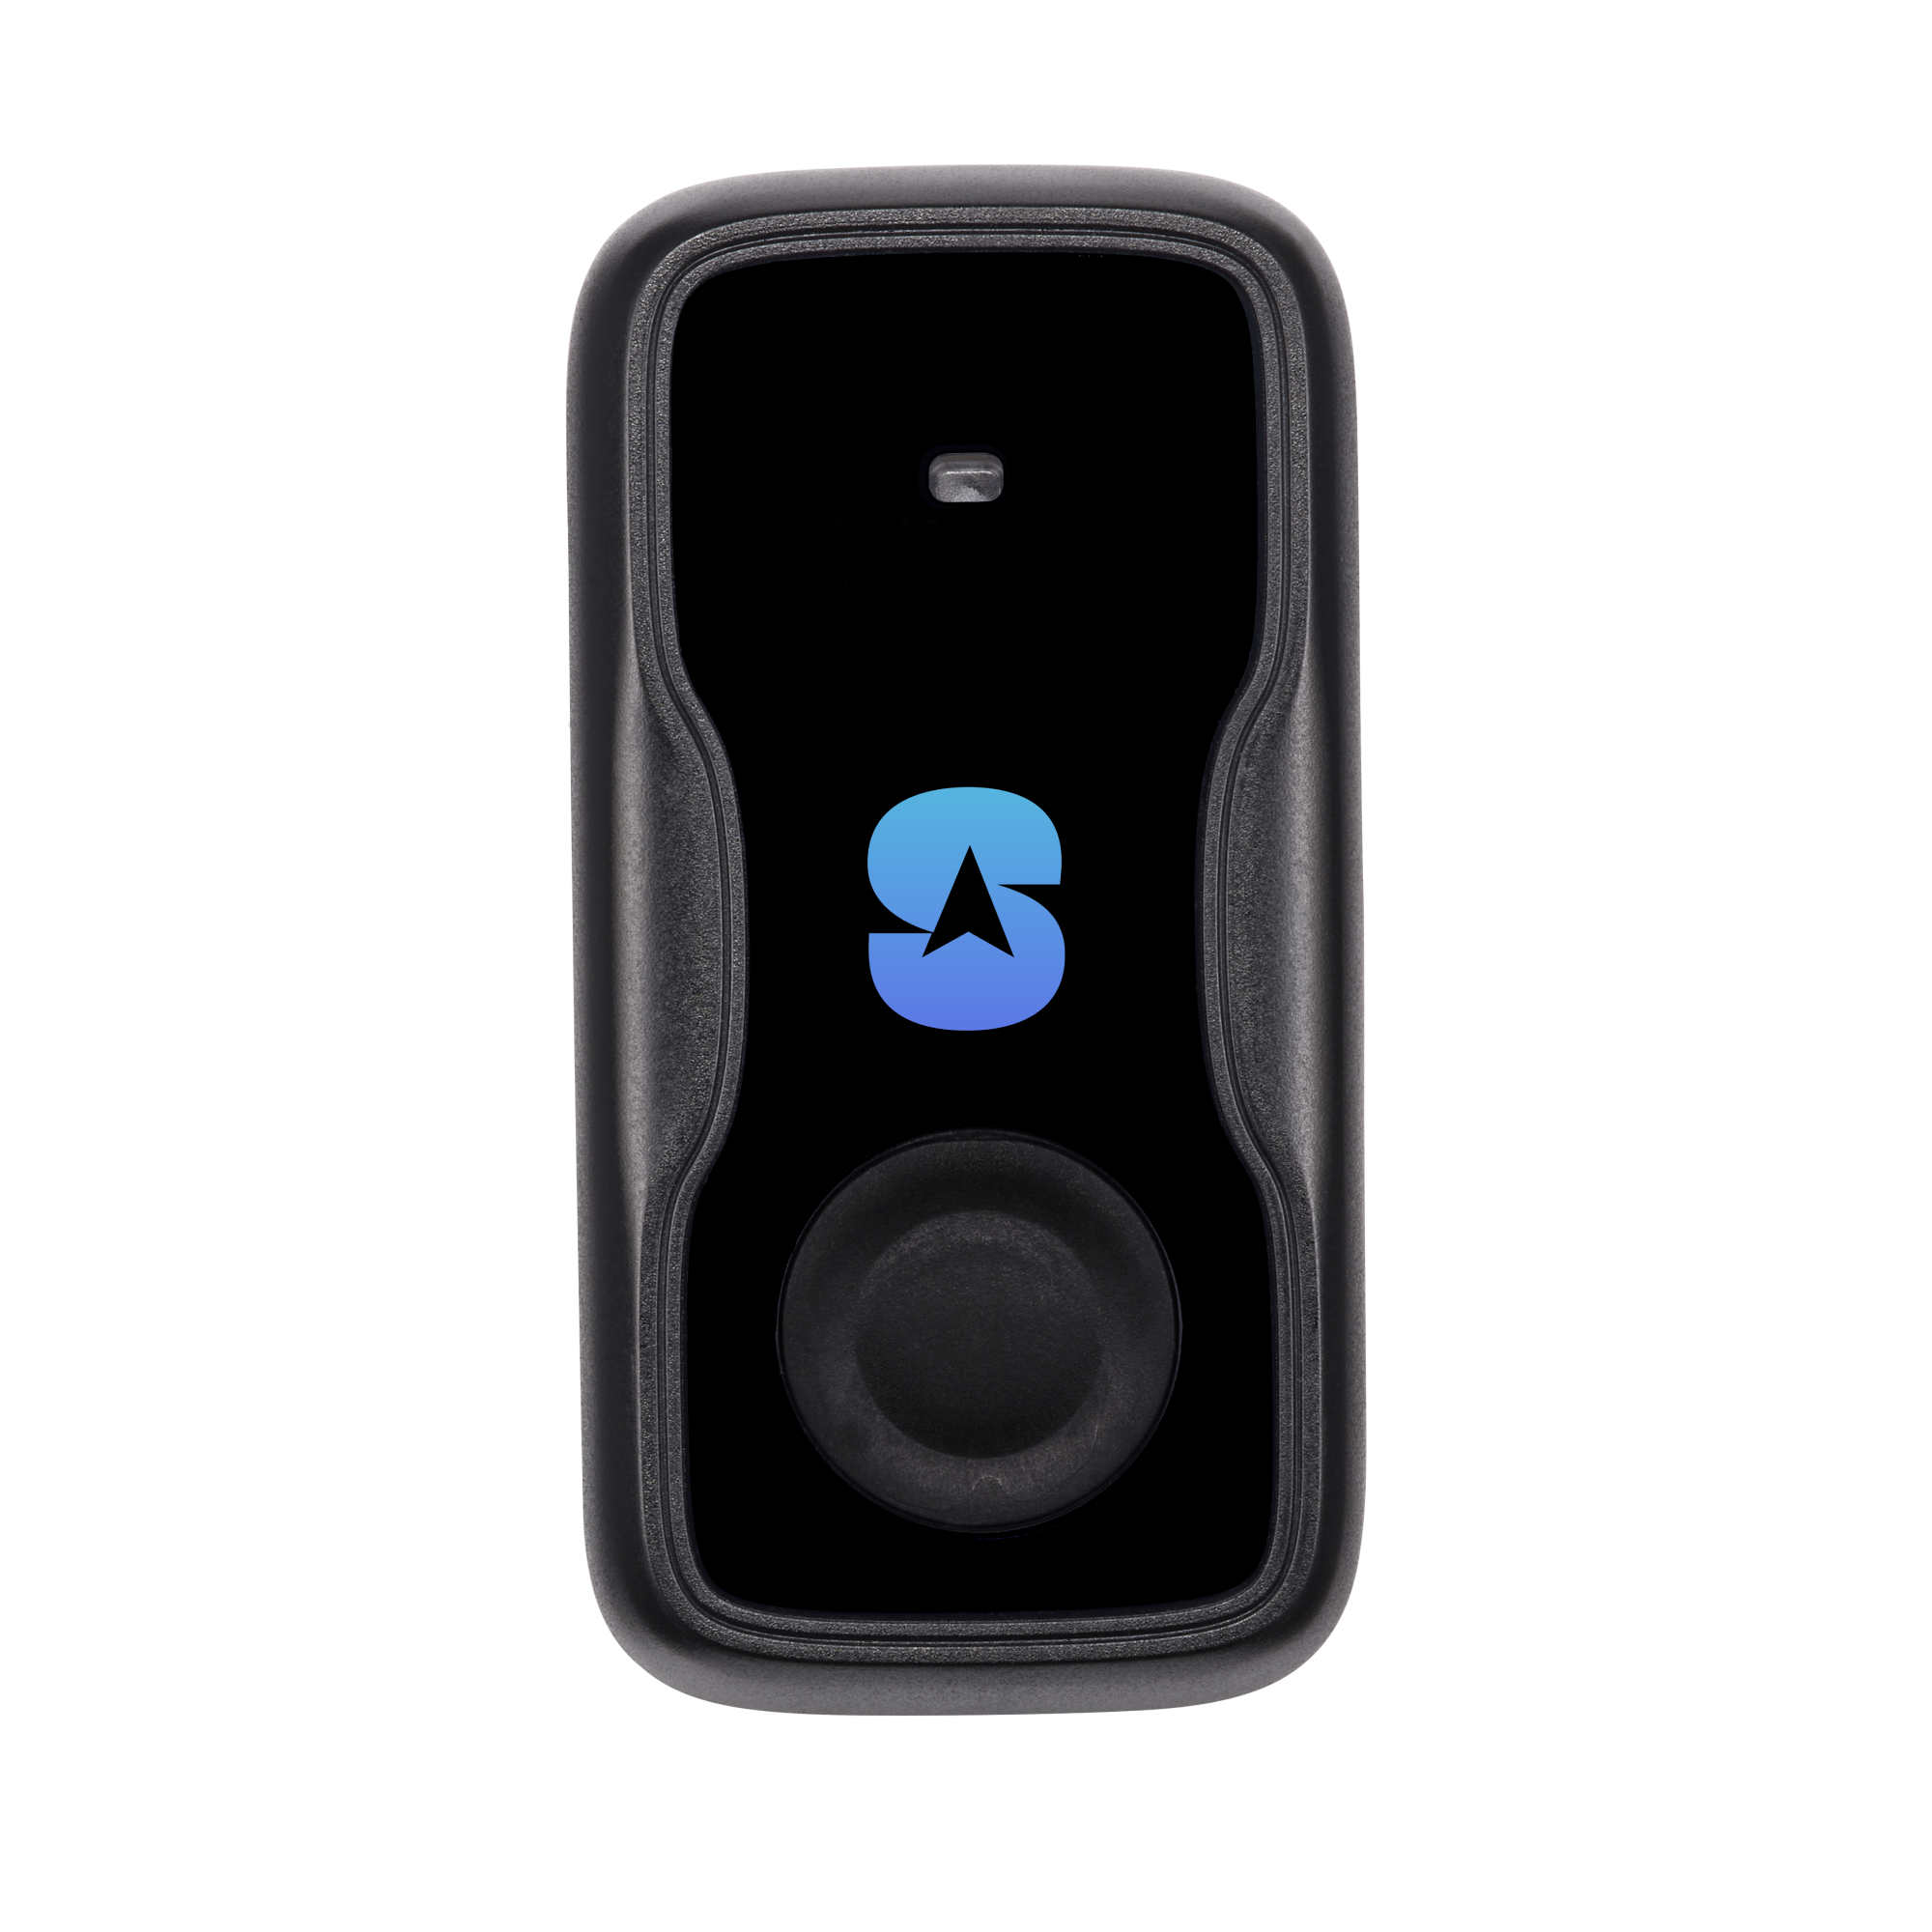
Atlas XL GPS Tracker
Setup Steps:
-
Charge your tracker fully
- Place the tracker on the wireless charging pad using the alignment frame
- Both Status and GPS lights will flash simultaneously every second during charging
- Both lights will remain solid when fully charged
- Remove the tracker from the charging pad when charging is complete
- For detailed information, see: How to Charge Your Spytec Atlas XL Tracker
-
Activate tracking mode
- Take the tracker outside to an open area
- Press and hold the face button for 3 seconds
- Both lights will stay solid for 3 seconds, then begin blinking
- Release the button once the blinking pattern starts
-
Take your tracker outside
- Walk or drive around outdoors with the tracker for about 10 minutes
- The tracker will not show connection status through lights after activation
- You should receive an SOS Alert notification once the tracker connects
- Position updates will begin appearing on your map shortly after
-
Check your Hapn map
- Log in to your Hapn account via the mobile app or web browser
- Your tracker should now appear on the map with its current location
- The default update frequency is every 10 minutes when moving and every 12 hours when stationary
- To adjust update frequency, see our Reporting Modes Guide
Once you've connected your tracker, click here to continue to Step 4 of the activation process.
Pulse Moto GPS Tracker

Setup Steps:
-
Install your tracker
- Connect the wiring harness to the tracker via the plug
- Connect the red wire to a constant power source (one that remains powered even when the motorcycle is off)
- Connect the black wire to ground (negative)
- For detailed installation instructions, consider professional installation or see our User Manual
-
Take your motorcycle for a ride
- Ride around for 10-15 minutes in an area with good cellular coverage
- The indicator lights will show the connection status:
- Red GPS light: Blinking = searching, Solid = connected
- Green CELL light: Rapid blinking = searching, Slow blinking = connected
-
Check your Hapn map
- Log in to your Hapn account via the mobile app or web browser
- Your tracker should now appear on the map with its current location
- If successful, you'll see the tracker icon with location details
Once you've connected your tracker, click here to continue to Step 4 of the activation process.
Pulse Wired GPS Tracker
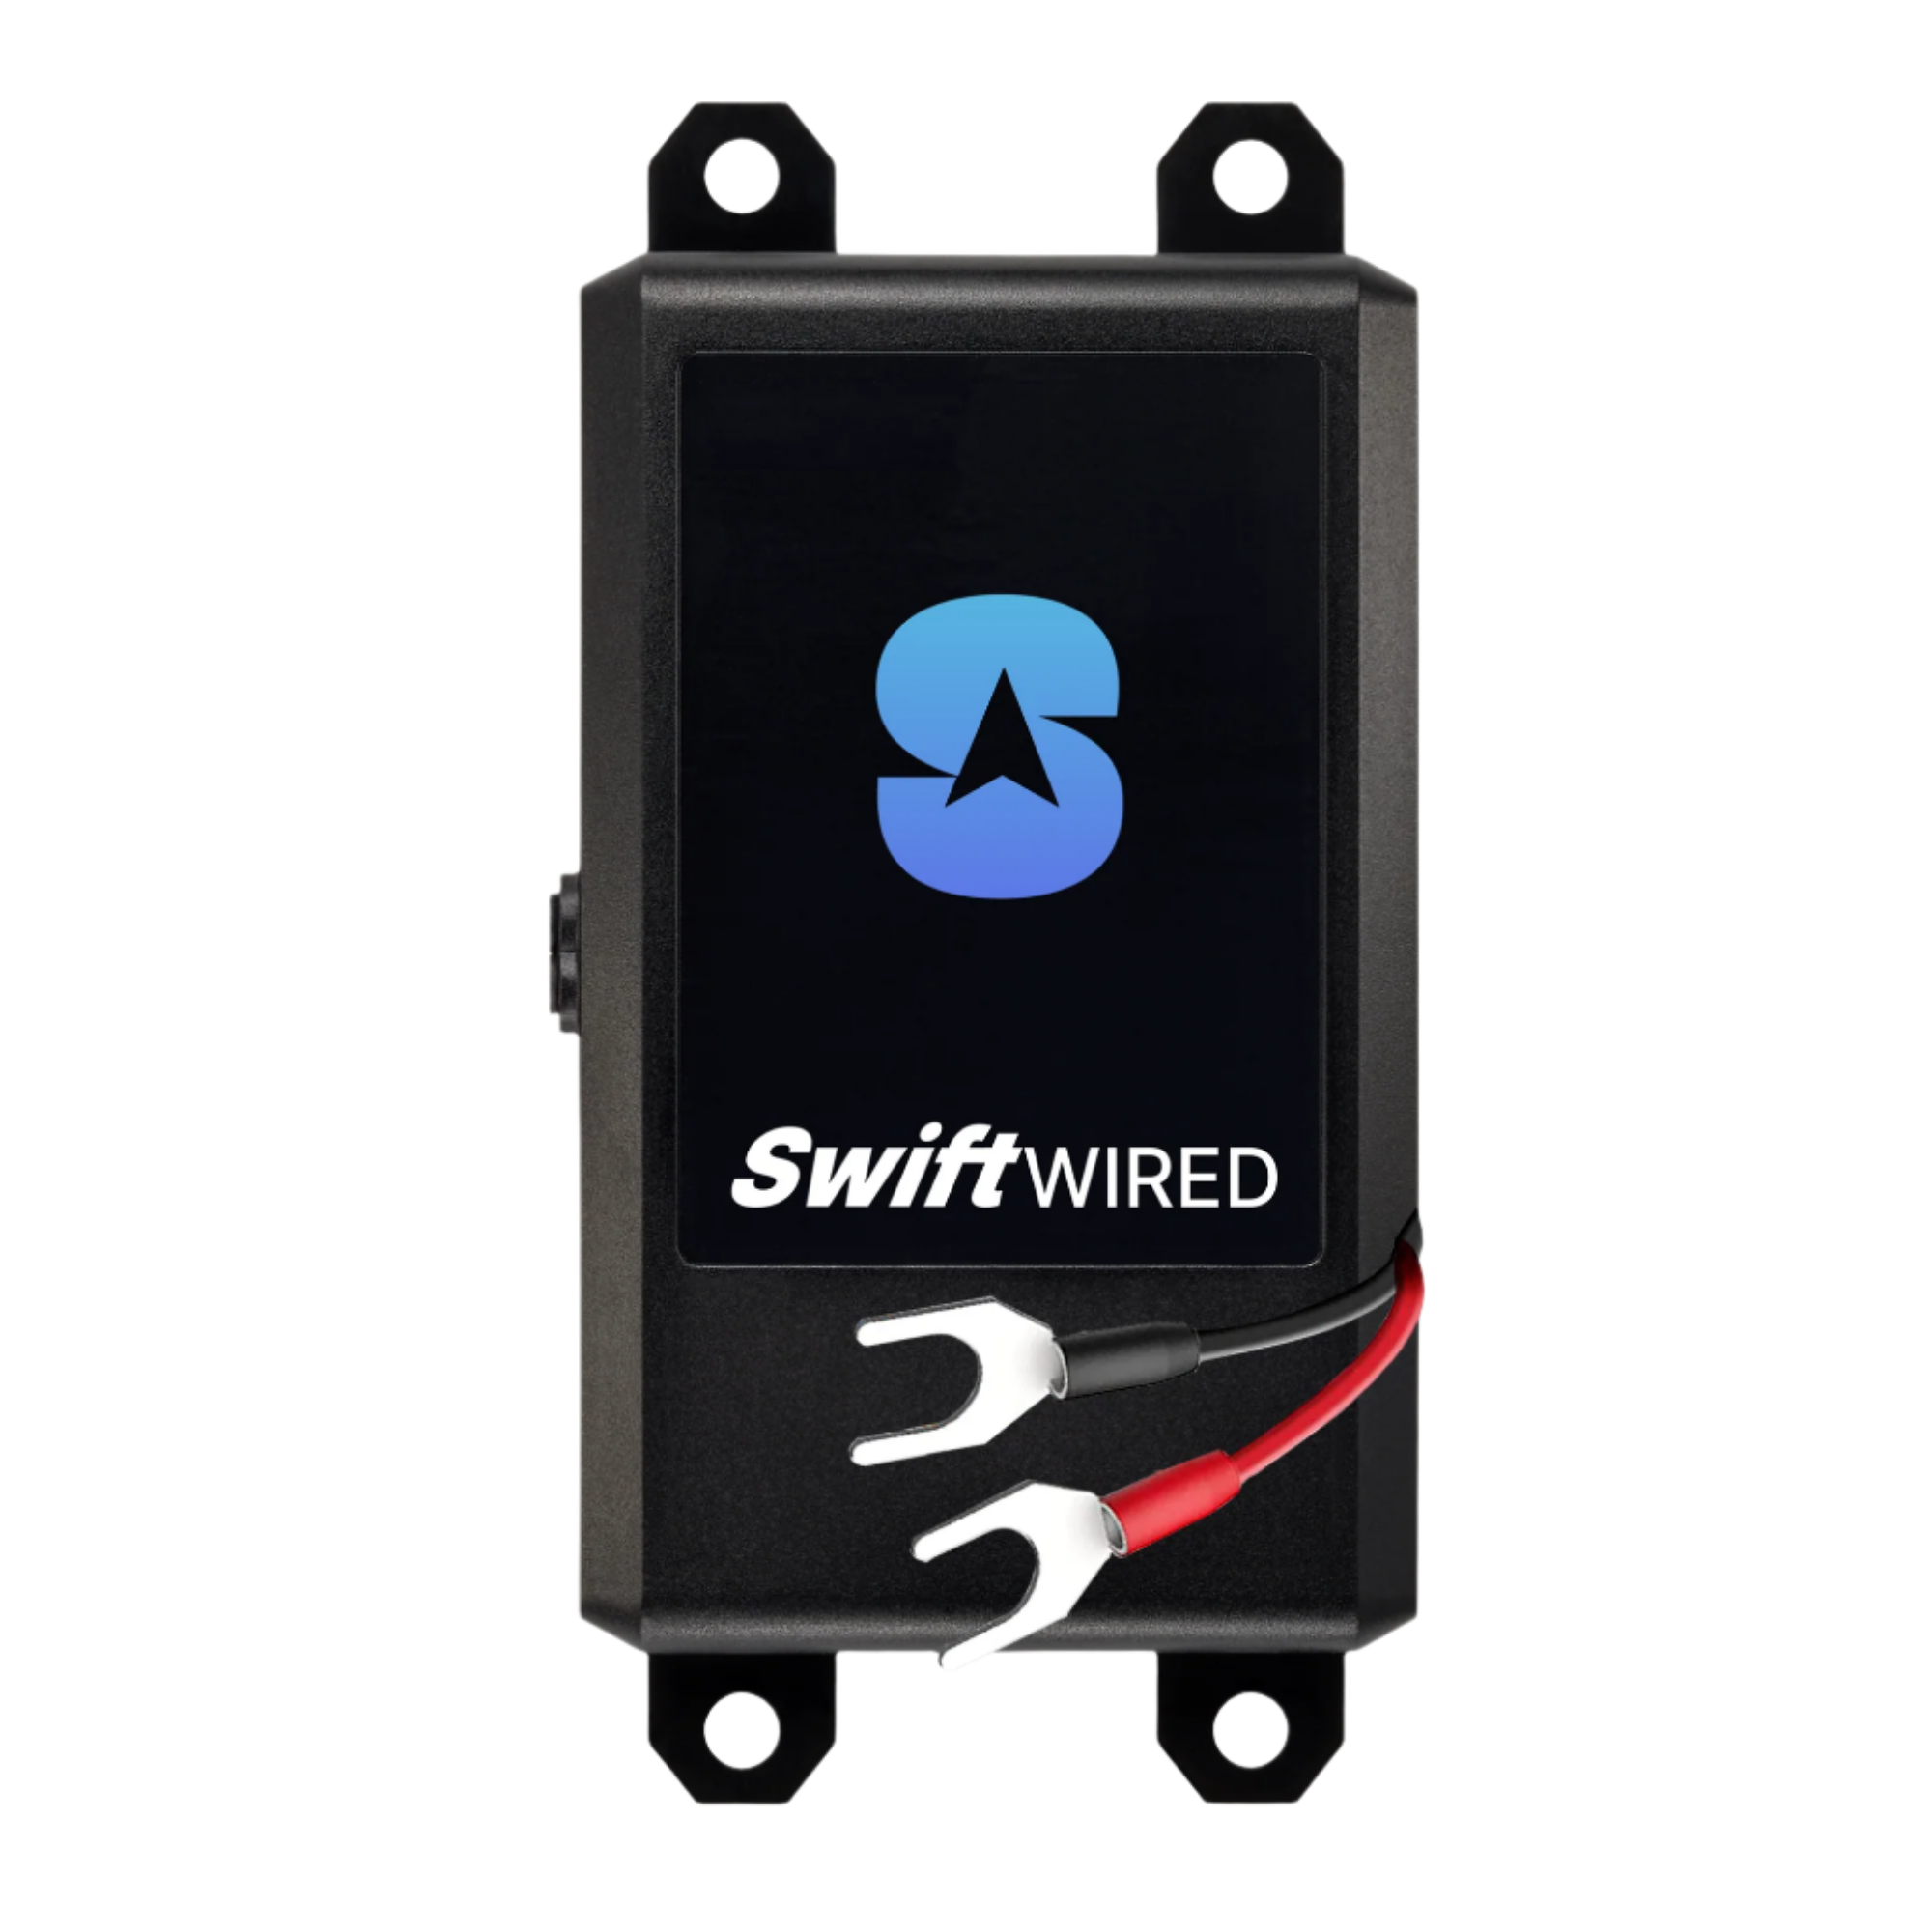
-
Install your tracker
- Connect the red wire to the positive (+) terminal of the vehicle battery
- Connect the black wire to the negative (-) terminal or a good ground point
- Ensure connections are secure and protected from the elements
-
Power on the vehicle
- Turn the vehicle ignition to the ON position
- The tracker will power up automatically when connected to the vehicle battery
- The LED indicator will show initial startup sequence
-
Wait for signal acquisition
- Wait 5-10 minutes in an open area with good cellular coverage
- The Swift Wired tracker updates based on ignition status rather than motion:
- With ignition ON: Updates every 1 minute (in default mode)
- With ignition OFF: Updates every 3 hours
- The LED indicator will show solid light when both GPS and cellular connections are established
-
Check your Hapn map
- Log in to your Hapn account via the mobile app or web browser
- Your tracker should now appear on the map with its current location
- If successful, you'll see the tracker icon with location details
Once you've connected your tracker, click here to continue to Step 4 of the activation process.
GV-57 Hardwired Tracker
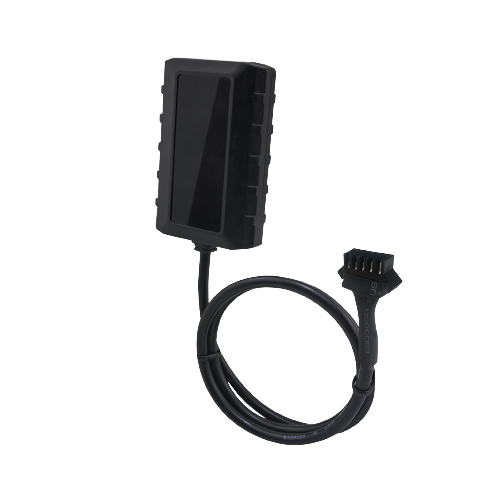
-
Install your tracker
- Connect the wiring harness to the tracker via the plug
- Connect the red wire to a constant power source (one that remains powered even when the vehicle is off)
- Connect the black wire to ground (negative)
- For detailed installation instructions, consider professional installation or see our User Manual
-
Take your vehicle for a ride
- Ride around for 10-15 minutes in an area with good cellular coverage
- The indicator lights will show the connection status:
- Red GPS light: Blinking = searching, Solid = connected
- Green CELL light: Rapid blinking = searching, Slow blinking = connected
-
Check your Hapn map
- Log in to your Hapn account via the mobile app or web browser
- Your tracker should now appear on the map with its current location
- If successful, you'll see the tracker icon with location details
Once you've connected your tracker, click here to continue to Step 4 of the activation process.
Hardwired Tracker
Setup Steps:
-
Install your tracker
- We recommend professional installation for hardwired trackers
- The tracker should be connected to your vehicle's power supply
- Typical installation location is under the dashboard
-
Take your vehicle for a drive
- Drive around for 10-15 minutes in an area with good cellular coverage
- The indicator lights will show the connection status:
- Red GPS light: Blinking = searching, Solid = connected
- Green CELL light: Rapid blinking = searching, Slow blinking = connected
-
Check your Hapn map
- Log in to your Hapn account via the mobile app or web browser
- Your tracker should now appear on the map with its current location
- If successful, you'll see the tracker icon with location details
Once you've connected your tracker, click here to continue to Step 4 of the activation process.
Troubleshooting Connection Issues
If your tracker doesn't appear on the map after following these steps:
-
Check activation status
- Verify your account is active and the tracker has been properly activated
- Confirm your subscription is current by going to the Billing section from the web app (app.gethapn.com) or the Account Management section on the mobile app.
-
Verify signal strength
- Ensure you're in an area with good cellular coverage
- Buildings, dense urban areas, or remote locations may affect connectivity
-
Battery and power
- Confirm your tracker has sufficient battery charge or is properly connected to power
- For hardwired units, check connections are secure
-
Allow more time
- Some trackers may take up to 30 minutes to appear on the map
- Continue moving in open areas to help establish connections
-
Restart the process
- Power cycle your device following the instructions for your specific model
- Repeat the connection steps
Still having trouble? Contact our support team for assistance.
Comments
0 comments
Article is closed for comments.